
You’ve probably received emails with embedded custom slideshows. They’re slick. They’re engaging.
They’re also really easy to create using entirely free tools. I’ve put together step-by-step instructions to walk you through the entire process.
CREATE YOUR CUSTOM SLIDESHOW
- Collect compelling images for your slide show.
- Login to google and CLICK HERE to visit your YouTube upload page. (Don’t have a google account for your organization? CLICK HERE to create one.)
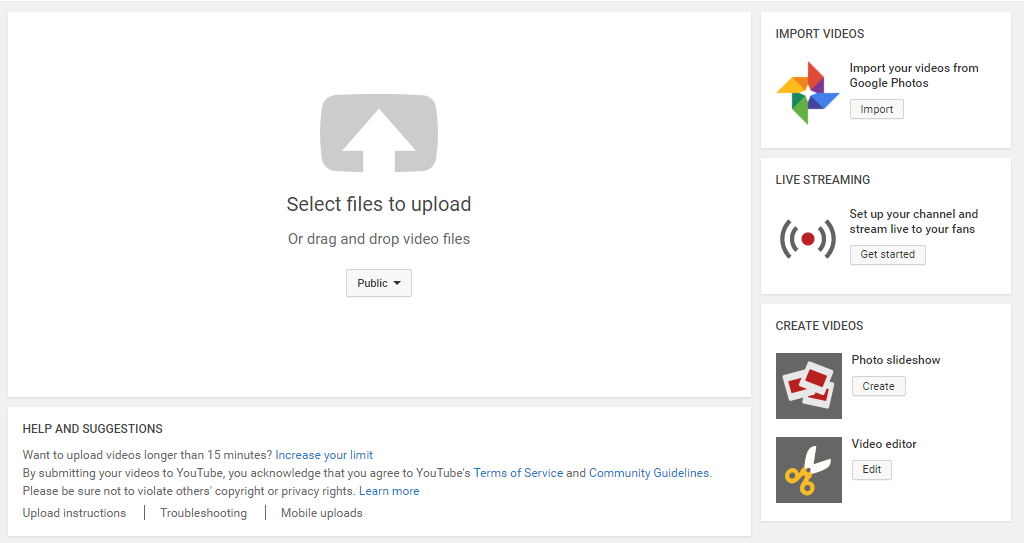
- Click CREATE under Photo Slideshow
- Upload the photos for your slideshow and click NEXT
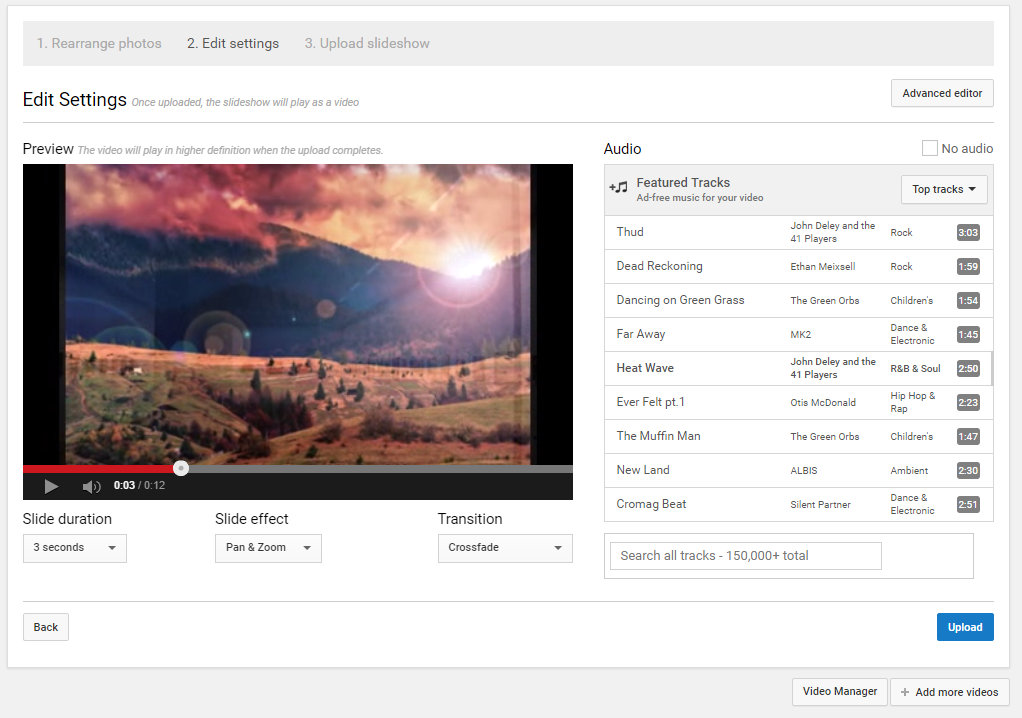
- Use the editor to set slide duration, effects and transitions.
- You can also select ad-free music to add to your video, or you can check the No Audio box.
- When you are happy with your slideshow, click UPLOAD.
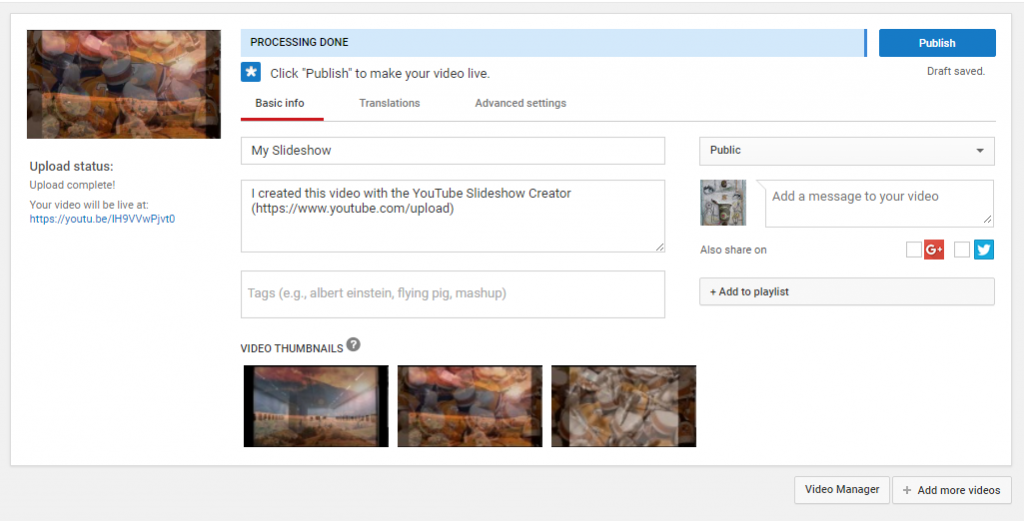
- Once your slideshow is ready, you can name it and add a description. Then, click PUBLISH to make your video live.
- Use the provided URL (circled in red above) to share it via email, social media, or on your website.
CREATE A VIDEO PLAY IMAGE
Now, you’ve got a great custom slideshow. What’s the best way to share it via email? You’ve probably seen emails that look like the video is embedded right there in the message:
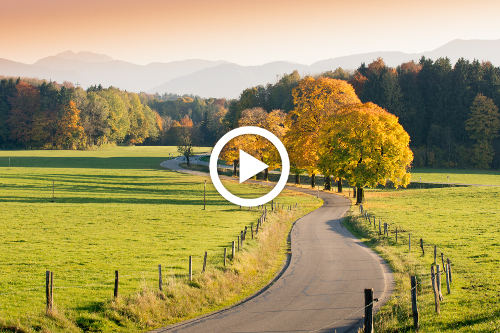
It’s not. This is just one of the images from the slideshow with a “Play” button overlaid on top of the image. The good news is it’s very easy to do this and you don’t need fancy or expensive photo editing software.
I use Gimp (you can download it HERE – it’s free), but any simple photo editor will do. Here’s how to do it in Gimp
- CLICK HERE to download and save the play button image.
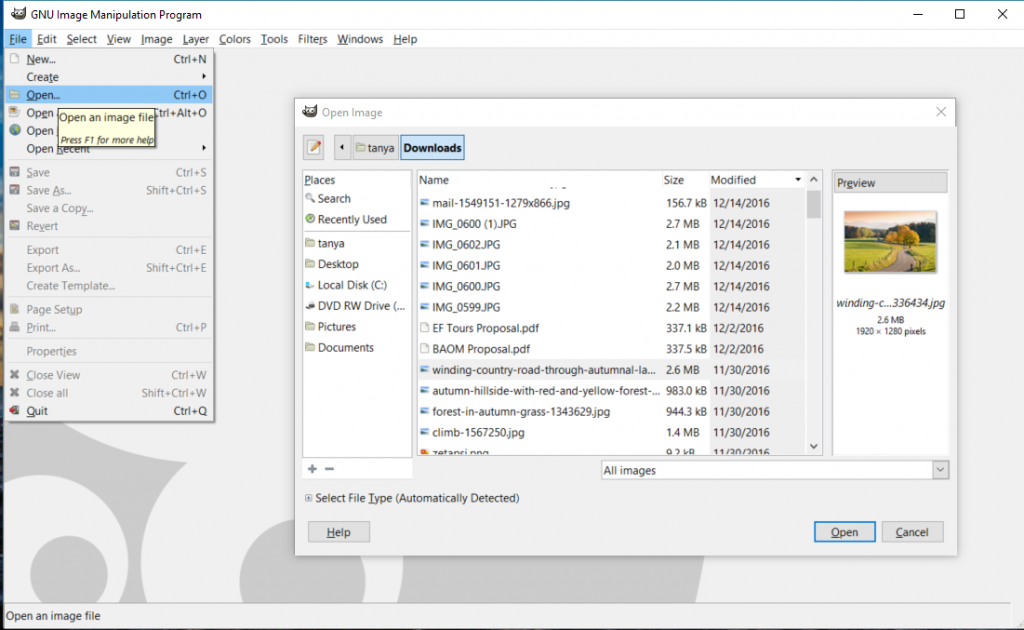
- Open Gimp and click File on the top left and select Open from the dropdown menu.
- Select the slide image you want to use for your thumbnail.
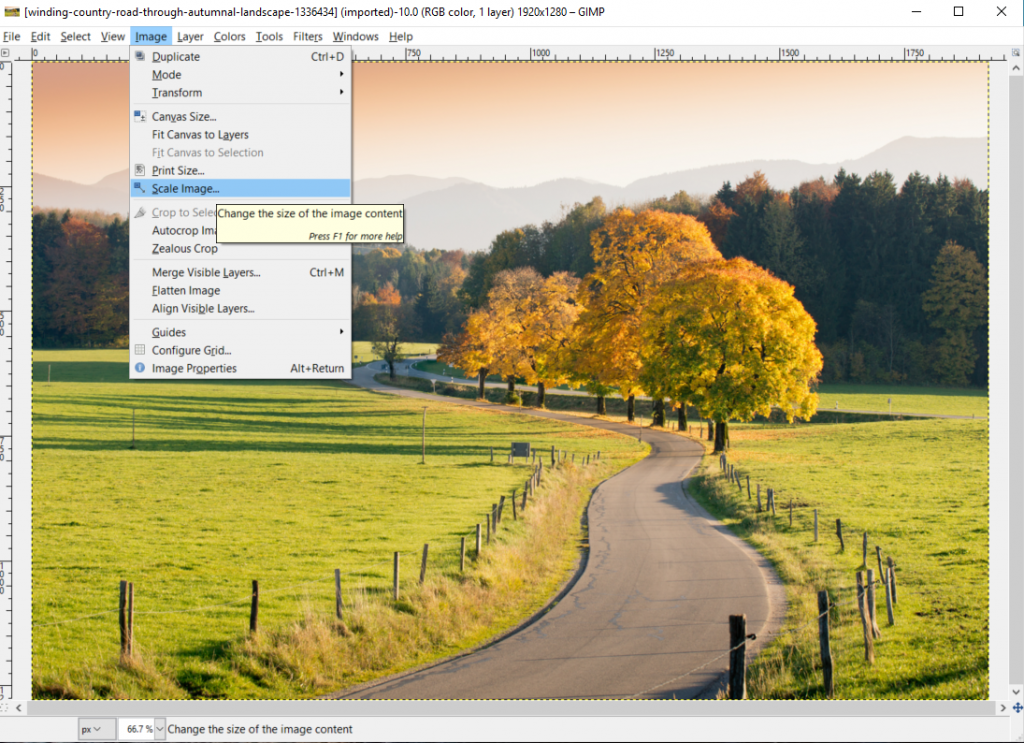
- If your image is very big, you will want to re-size it. To do that, click Image in the top menu and then select Scale Image from the dropdown menu.
- Set the width to 500 px and tab. The height will automatically adjust to maintain the aspect ratio. Click the Scale button to resize the image.
- Now, click View in the top menu and Select Zoom – 100% from the dropdowns to see your full-size image.
- Now we’ll add the Play button. Click File and select Open as Layers from the dropdown. Locate the play button image file and open it.
- The button will now be on top of your image. Now, there’s just one last step. Click Layer in the top menu and Merge Down from the drop down.
- Your image is complete! To save it, click File and select Export As…. from the dropdown. Name the image and save it to your desktop or another location where you can easily find it.
LINK YOUR EMAIL TO YOUR SLIDESHOW
All the pieces are in place. Now you just need to put them together. Create your email using your email marketing tool (MyEmma, MailChimp, Constant Contact, etc.) Insert your Video Play Image into the email.
Now, you want to hyperlink the image so that when someone receives your email and clicks on that Video Play Image, they are directed to a web page to view the slideshow. You have two choices:
- Link directly to the YouTube video. This is the easiest route to go, but then you are directing users to YouTube instead of to a page that is designed to make an appeal and give them a way to respond.
- Embed the video into a landing page with a donate form (or volunteer signup form or whatever form-type is relevant for your CTA). This isn’t difficult to do.
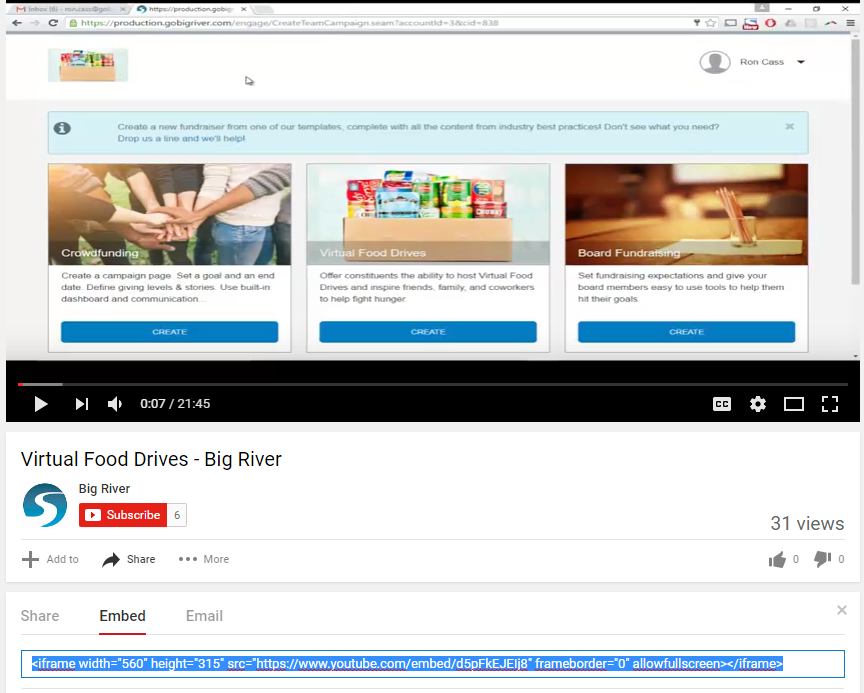
Under every YouTube video – including the slideshow you just created – there is a Share button. Click the Share button for your slideshow and select Embed. Copy the code that shows up in the box.
If you are using Big River, open the page on which you want to place the video and click Page Layout on the left. In your editor dashboard, you will see a YouTube Button. Click it.
An easy editor will appear.

Paste the embed code for your video in the designated box. Check the Make Responsive box. Uncheck the Show suggested videos box. Click OK.
If you are not using Big River, you will need access to your website’s content management system and/or help from your website administrator. Paste this code into the source code for the page on your website where you want the video to appear.
Now, in your email, hyperlink your video play image to your Big River page or the page on your website where you positioned the video.
YOU’RE DONE!
If you try it, send a link to your video to tanya.wagner@donorpoint.com with the subject line MY CUSTOM SLIDESHOW. I’d love to see your work and I’ll be happy to share it on Facebook and Twitter.
NO TIME NOW? Download a pdf of the guide for future reference.
[maxbutton id=”18″]